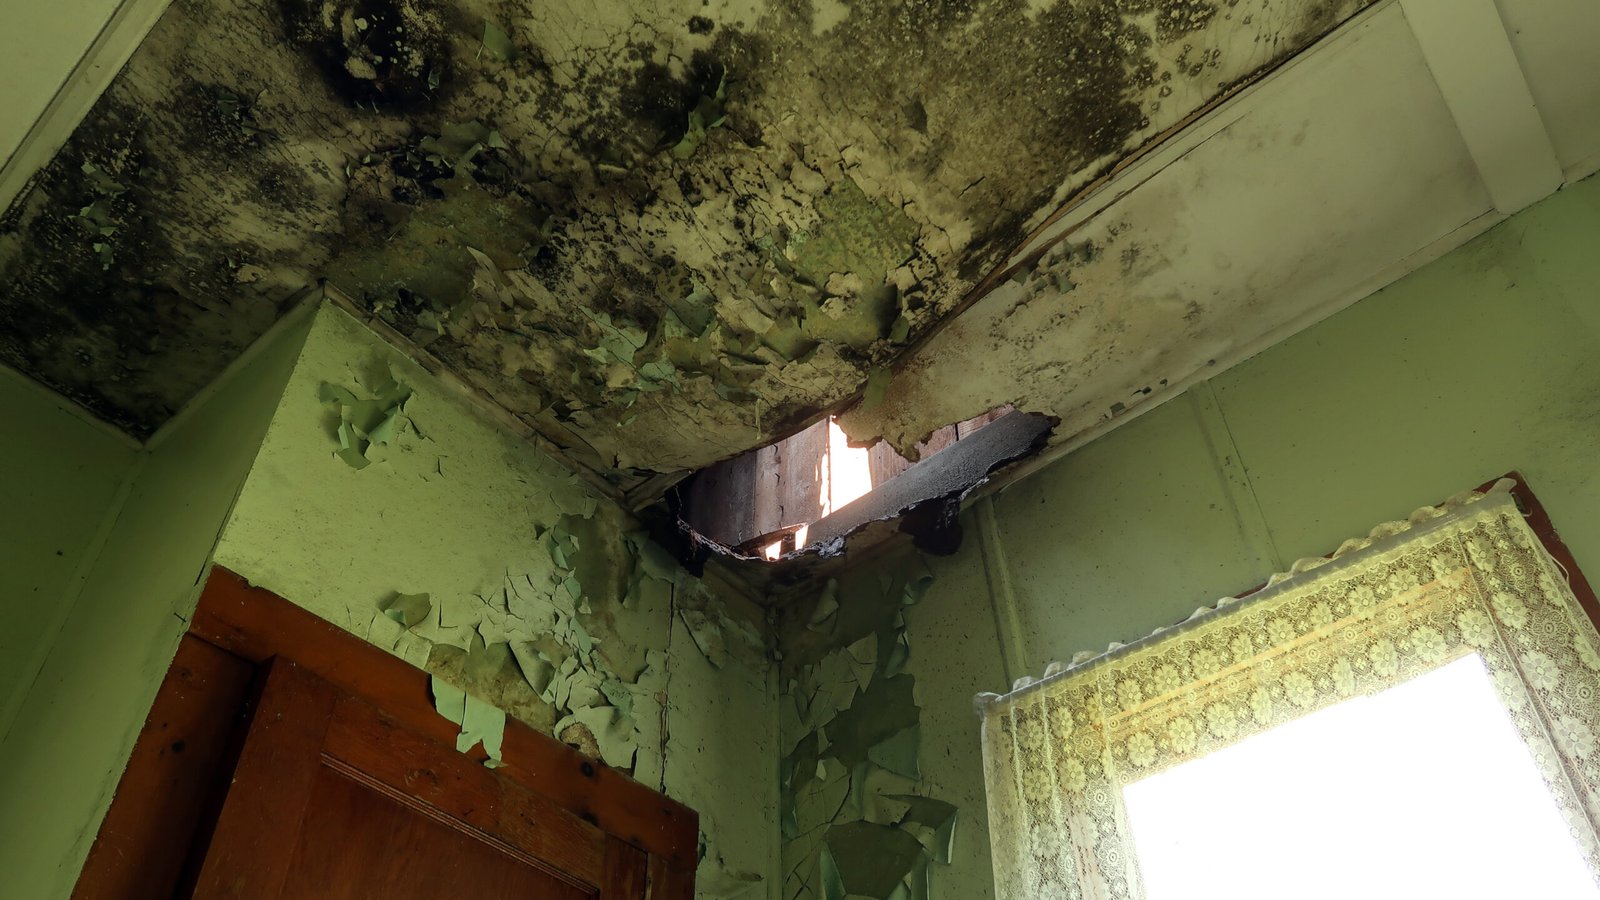
Water appearing inside a commercial building may have traveled through several components before reaching a ceiling, wall, or floor. The visible damage can reveal where water accumulated without showing where it entered.
A water intrusion source investigation evaluates that route. Engineers combine exterior review, interior mapping, building records, weather history, and targeted testing to develop and evaluate possible entry pathways.
For owners, property and facility managers, and asset managers, this process helps establish what the evidence supports before corrective work is planned. The investigation may identify a probable pathway, reveal multiple contributing details, or define further work needed to resolve an uncertain source.
Why Tracing Envelope Leakage Requires a Systematic Process
The building envelope includes exterior walls, roofs, windows and doors, waterproofing, and the interfaces connecting these components. Its water management features must work together.
Water may enter through an exposed detail, move behind a surface, and emerge at a different location. Concealed flashing, barriers, cavities, and drainage features can influence its route.
An investigation therefore considers:
- Where water could enter
- How the assembly is intended to manage water
- Where water could travel or collect
- Whether the proposed route explains the interior symptoms
- What observations or tests could support or challenge that explanation
This approach gives the investigation a technical purpose beyond documenting visible deterioration.
Step 1: Define the Problem and Investigation Questions
Engineers begin with the reported history and the decisions the property team needs to make.
Questions may include:
- Which entry pathway is associated with recurring leakage?
- Is the problem limited to one location or repeated at similar details?
- Did previous repairs change the frequency or location of leakage?
- What additional access or testing is needed before a repair scope is developed?
Available records may include drawings, photographs, leak logs, maintenance records, and prior reports. Dates and locations help organize the information into a useful history.
The scope should identify the areas and systems being evaluated. It may need adjustment as field findings reveal additional questions.
Step 2: Map Interior Evidence
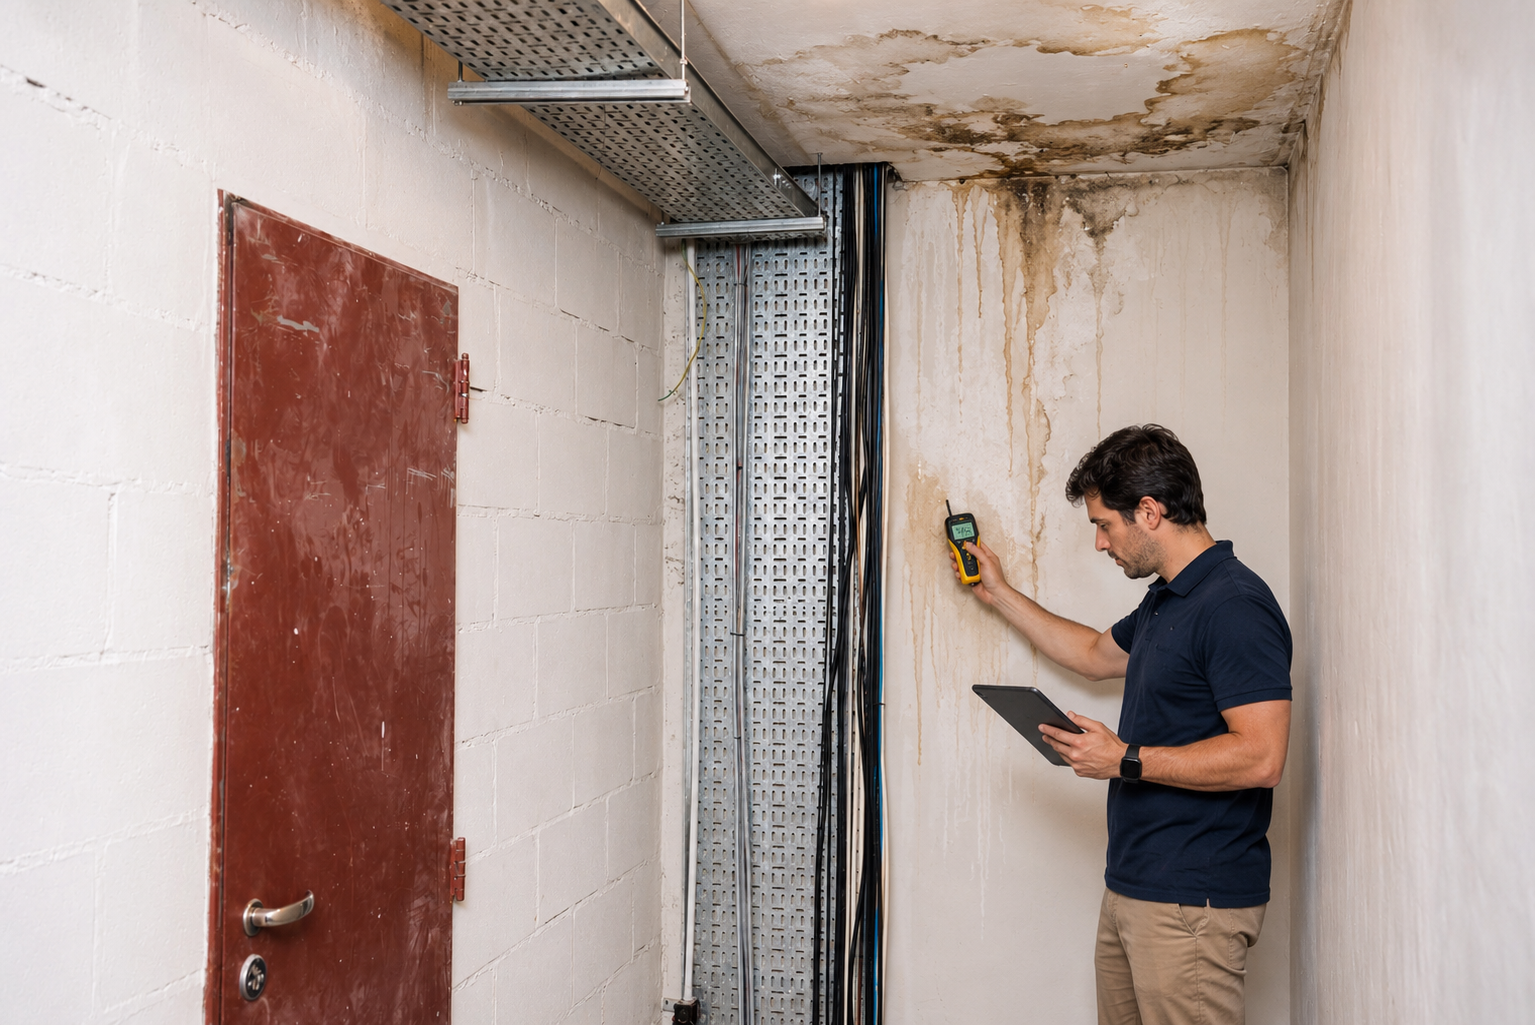
Interior mapping establishes where symptoms occur and how they relate to the building layout.
Engineers may document:
- Stains, damp areas, and finish deterioration
- Locations of reported dripping or active leakage
- Areas with elevated moisture readings
- Relationships to windows, exterior walls, roof edges, and penetrations
- Similar conditions on adjacent floors or in neighboring spaces
Photographs, measurements, and marked plans can connect interior observations with exterior locations. Property teams can contribute photographs taken during active leakage when conditions are dry during the site visit.
A stain may remain after materials have dried. Moisture readings also require interpretation according to the instrument and material. Neither establishes the water-entry point on its own.
Step 3: Review Exterior Components and Water Management Details
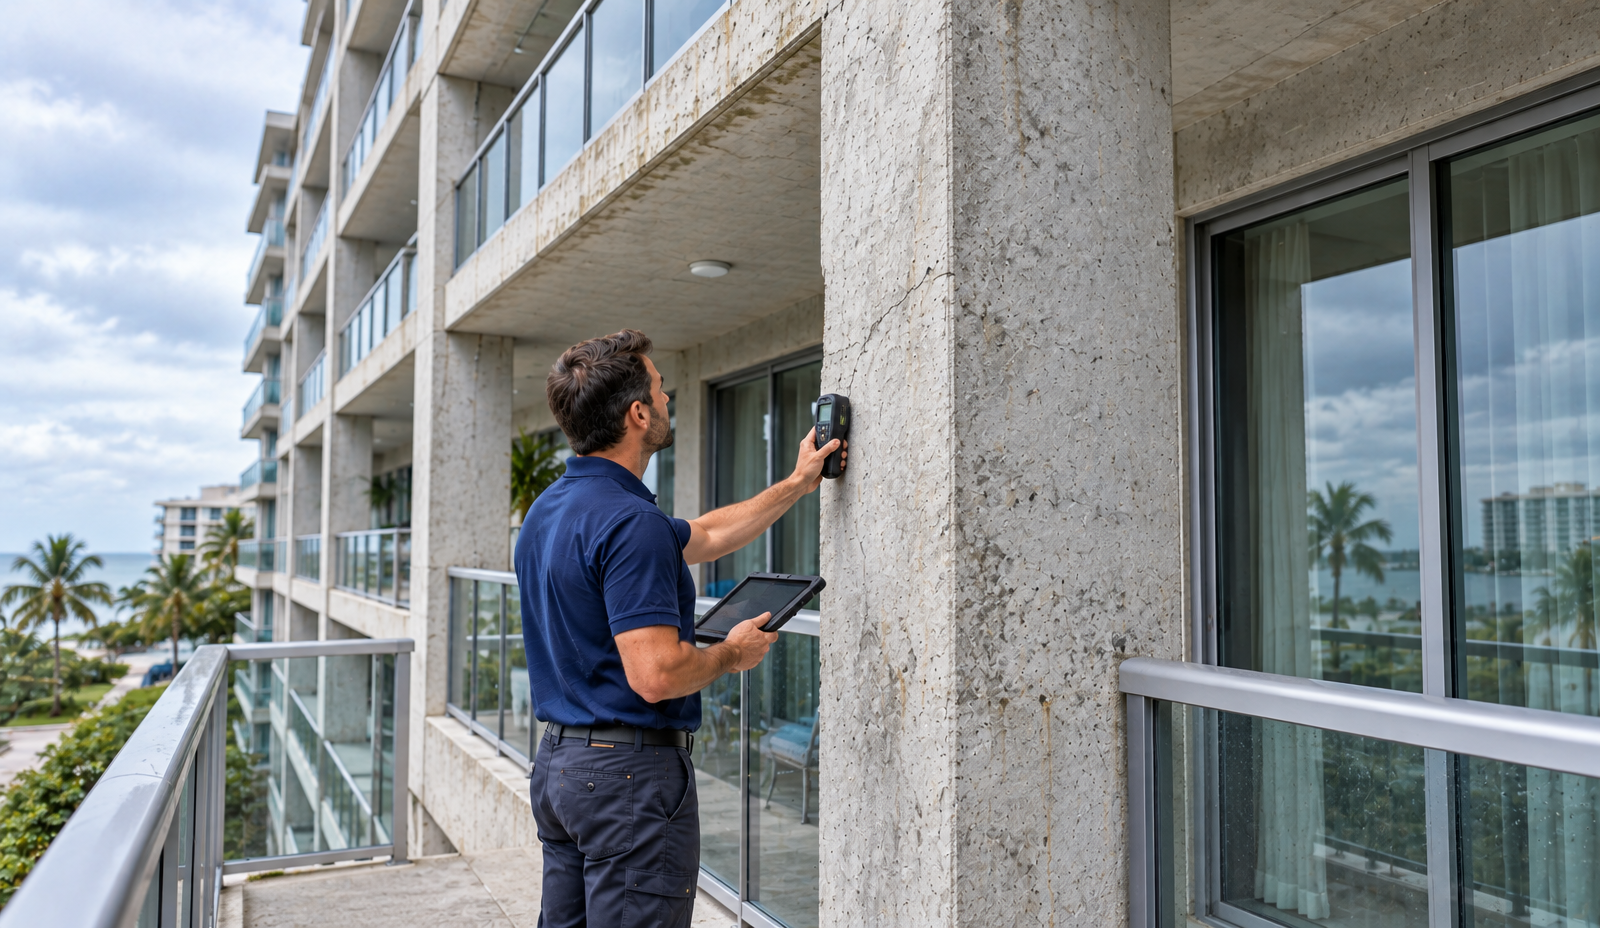
Engineers compare the interior map with accessible exterior assemblies and potential upstream locations.
The review may include:
- Roof-to-wall transitions and parapets
- Window and door interfaces
- Flashing and terminations
- Sealant joints and material transitions
- Exterior penetrations
- Cladding, drainage openings, and waterproofing details
- Roof or site drainage affecting the area
The investigation considers how each detail is intended to shed or drain water. A surface opening may be relevant, but engineers also examine whether concealed components should manage water reaching that location.
An exterior deficiency is a potential lead. Its relationship to the interior symptoms must still be evaluated.
Step 4: Compare Weather History With Reported Leakage
Weather information can help identify the conditions associated with intermittent leakage.
Useful comparisons may include:
- Rainfall dates and reported leak dates
- Wind direction and the affected elevation
- Whether leakage occurs during brief intense rain or prolonged exposure
- Whether similar rainfall produces different results
- Changes in symptoms after repairs
For example, leakage reported mainly during rain from a particular direction may guide evaluation of an exposed wall or opening. It does not establish which detail allowed water to enter.
Weather records describe conditions at the reporting location. They may not reproduce the exposure at the building, so engineers consider station location, record completeness, and other evidence before drawing conclusions.
Leakage observed after rainfall may also involve delayed drainage or retained water. Timing should be evaluated rather than assumed to identify a direct route.
Step 5: Develop and Compare Possible Pathways
Engineers use the collected information to form testable explanations for the reported water movement.
For example, staining beneath an exterior opening might be associated with:
- Leakage at the window perimeter
- Water entering a wall detail above the opening
- A flashing or drainage discontinuity within the assembly
- Leakage at an adjacent roof or parapet transition
Each explanation should account for the observed location, timing, and building configuration. Engineers consider what evidence would be expected if the pathway were present and what findings would make it less likely.
Alternative mechanisms, including plumbing or condensation, may also need evaluation if they could explain the same symptoms. Identifying these possibilities helps avoid narrowing the investigation too early.
Step 6: Select Targeted Testing
Testing should address a defined question. The selected method depends on the component, suspected pathway, access, and available evidence.
Additional work may include:
- Controlled water testing of selected details
- Further moisture measurements
- Observation of accessible cavities or drainage features
- Limited openings to inspect concealed construction
- Monitoring during rainfall or operating changes
Where practical, testing can be organized to evaluate details separately and reduce uncertainty about which location produced an observed response. Engineers document the tested area, procedure, conditions, and interior observations.
Controlled testing may not reproduce every combination of wind, rainfall, duration, and building operation. A leak observed during testing provides evidence about the evaluated conditions; failure to reproduce leakage does not establish that intermittent intrusion never occurs.
If openings are needed, the work should be coordinated around access, building operations, protection of occupied areas, and restoration of disturbed materials. Suspected microbial conditions may require separately qualified professionals.
Step 7: Inspect Concealed Details When Necessary
Accessible observations may leave important questions unresolved. Limited openings can reveal whether concealed flashing, barriers, substrates, or drainage components are present and how they are integrated.
Engineers may evaluate:
- Evidence of water movement within the assembly
- Wetting or deterioration beyond the visible damage
- Connections between exterior details and interior impacts
- Concealed installation or material conditions
- Whether additional locations should be evaluated
Findings must be tied to the locations inspected. A condition found at one opening cannot automatically be applied to every similar assembly throughout the property.
The investigation should distinguish verified conditions from broader possibilities requiring additional evidence.
Step 8: Evaluate Findings and Identify Next Steps
Engineers compare records, observations, measurements, and test results to determine which water-entry pathways are supported.
A useful report may explain:
- The reported problem and areas evaluated
- The investigation methods and evidence reviewed
- Probable or demonstrated pathways and their supporting evidence
- Alternative explanations considered
- Affected conditions observed within the scope
- Access limits and unresolved questions
- Recommended additional evaluation or corrective planning
More than one entry route may contribute to the problem. Where the source remains uncertain, findings should explain why and identify the work that may resolve the uncertainty.
Source investigation can inform repair planning. Detailed repair design, construction support, and verification after corrective work should be defined when those services are needed.
Florida Examples That Help Focus the Investigation
Florida exposure can provide useful context for developing and testing possible pathways.
Wind-driven rain may reach vulnerable interfaces on a particular elevation. Repeated rainfall may reveal drainage concerns or recurring leakage at transitions. Coastal exposure may affect the condition of metal details, while deteriorated sealants may warrant closer review at exposed joints.
These conditions guide investigation questions. They do not establish the cause based on climate or location alone. The diagnostic process remains grounded in the specific assembly, reported history, and observed evidence.
How Property Teams Can Support the Investigation
Clear records and coordinated access improve the usefulness of a site visit.
Before the evaluation, provide:
- Dated photographs and identifiable damage locations
- Leak logs describing weather and timing
- Drawings and available construction details
- Prior repair scopes and photographs
- Maintenance records and previous reports
- Access restrictions and operational requirements
Where practical, document conditions before surfaces are patched or materials removed. Necessary measures to limit ongoing damage should proceed, with records retained to show how the site changed.
For occupied commercial or industrial facilities, identify sensitive equipment, tenant coordination needs, and areas where testing could affect operations. This information helps the investigation team plan the work around the property.
Discuss a Building Envelope Evaluation
Prema Consulting Group uses a process of developing and testing possible explanations, combining exterior review, interior mapping, weather history, and targeted testing to trace probable water-entry pathways.
Our team supports commercial owners, property and facility managers, and asset managers with documented observations and technical analysis to inform further investigation and corrective planning.
Contact Prema to discuss a building envelope evaluation for your property
Frequently Asked Questions
What is a water intrusion source investigation?
−It is a technical evaluation used to trace possible water-entry pathways by comparing building details, interior evidence, reported history, and testing results.
Can water enter in one location and appear somewhere else?
+Yes. Water may travel through concealed cavities or along building components before it becomes visible. The damage location may be separated from the entry point.
Why do engineers review weather history?
+Weather history can help identify conditions associated with reported leakage and guide evaluation of exposed details. It does not establish the source by itself.
Is controlled water testing always required?
+No. The need for testing depends on the unresolved questions and available evidence. Some assignments require testing or concealed access; others may be addressed through accessible observations and records.
Can one test confirm the condition of the entire envelope?
+No. Findings apply to the locations and conditions evaluated. Broader conclusions require supporting evidence and an appropriate investigation scope.
Need Expert Forensic Engineering & Building Assessment Insights?
Get our accurate, evidence-based analysis to identify root causes, assess structural integrity, and make confident decisions.
Get in Touch →